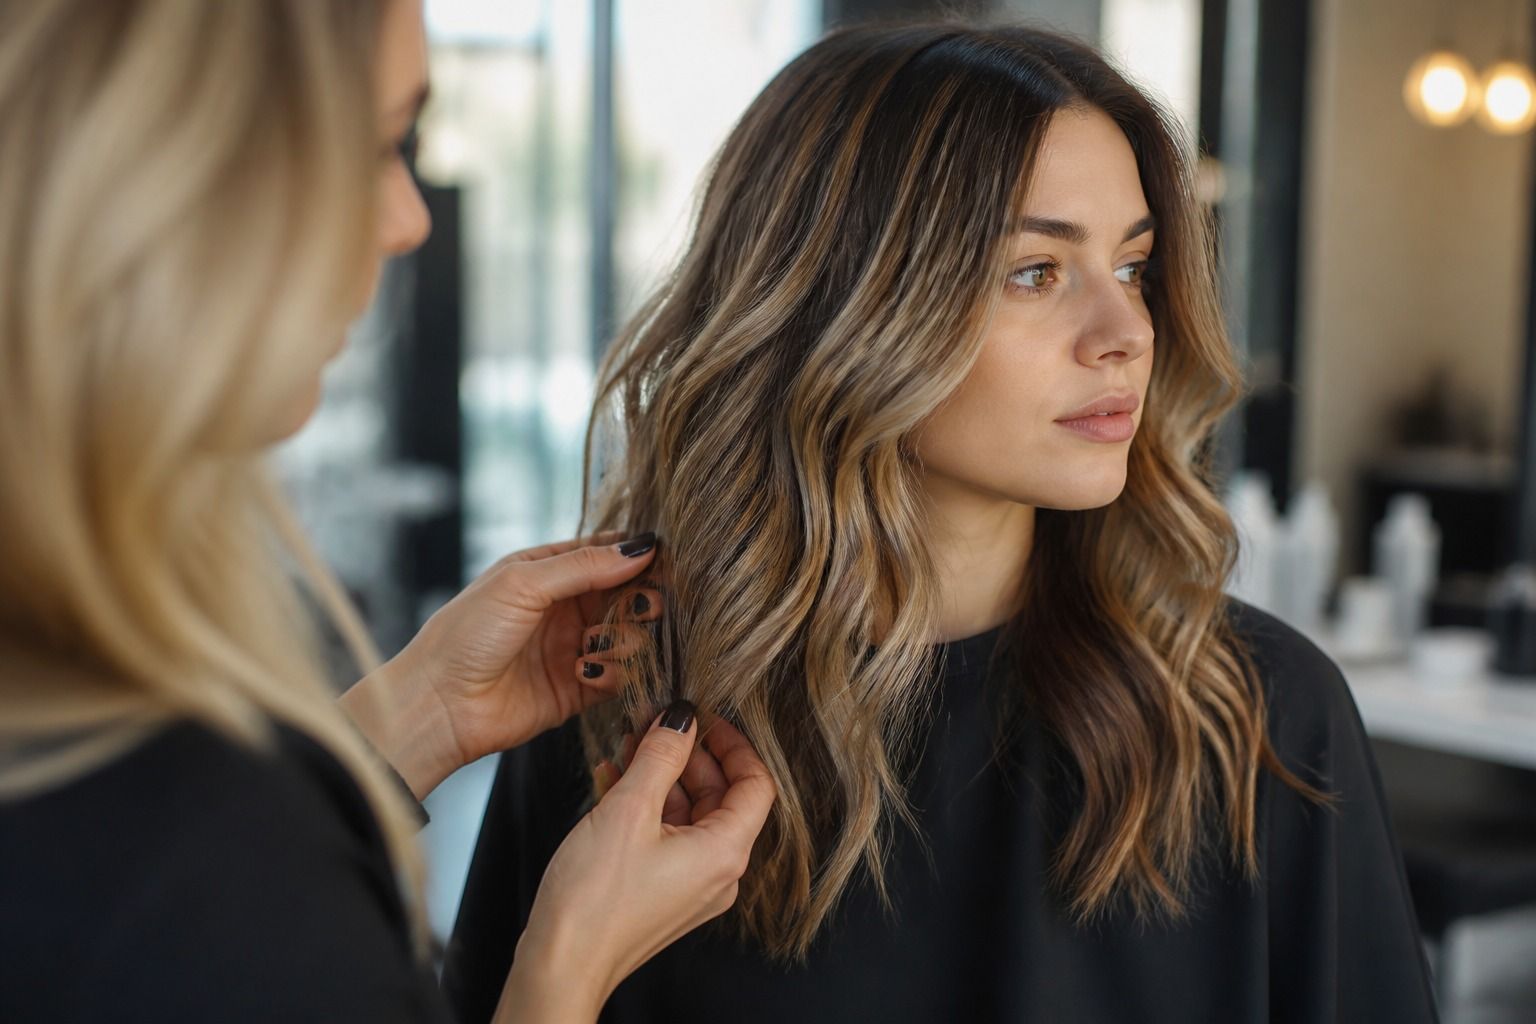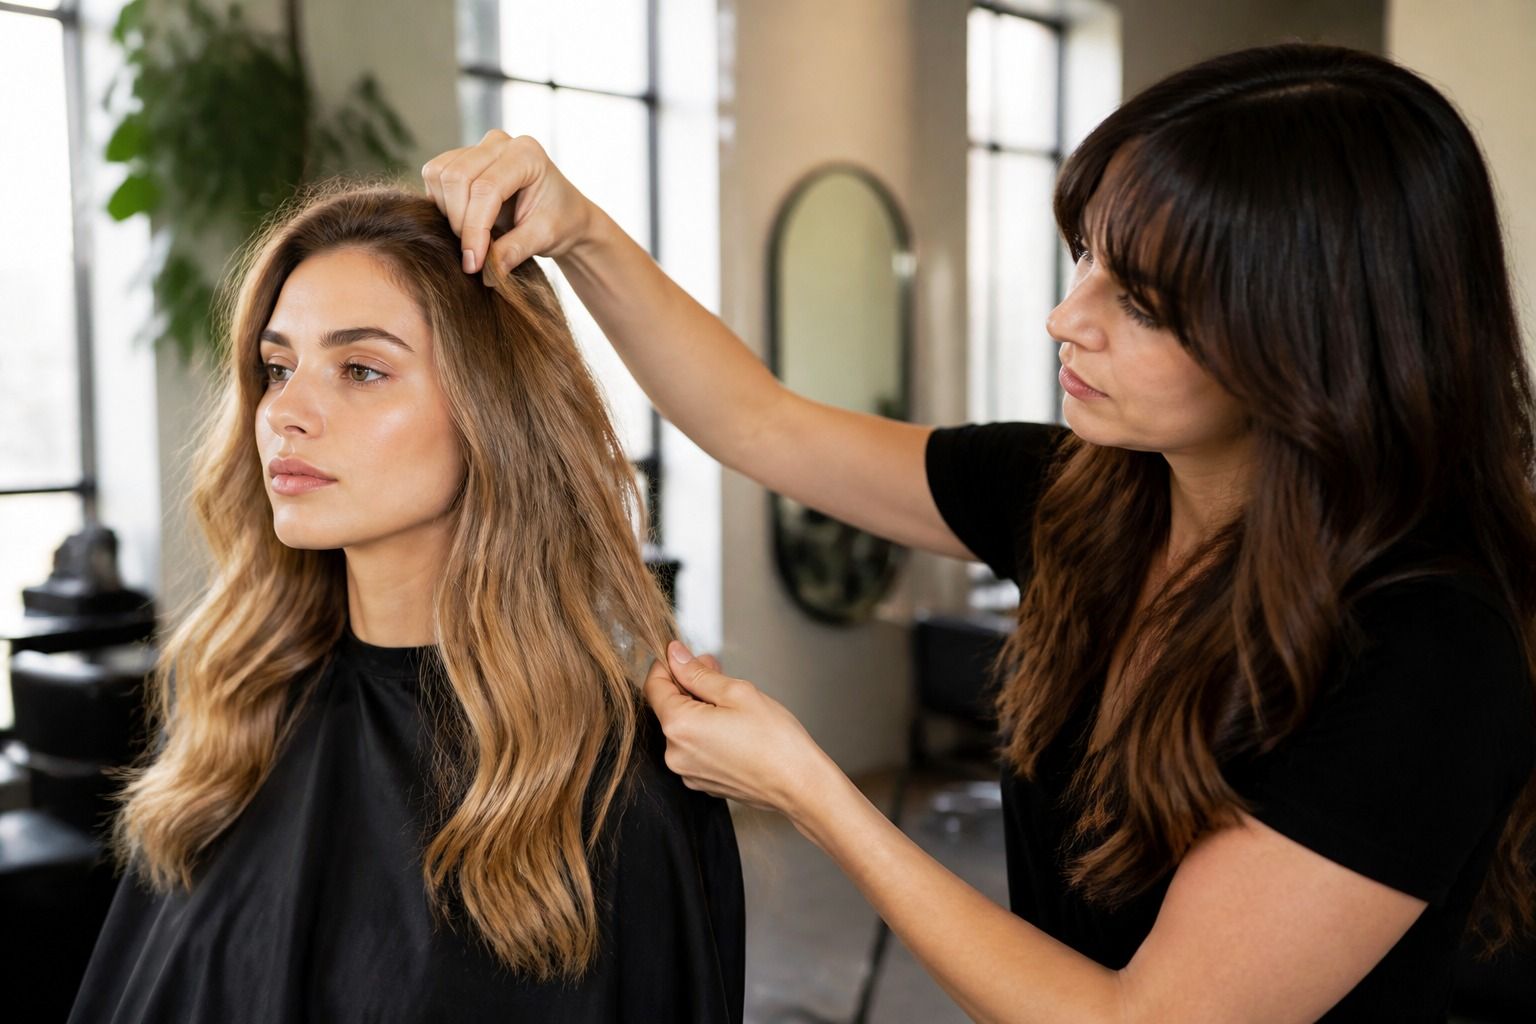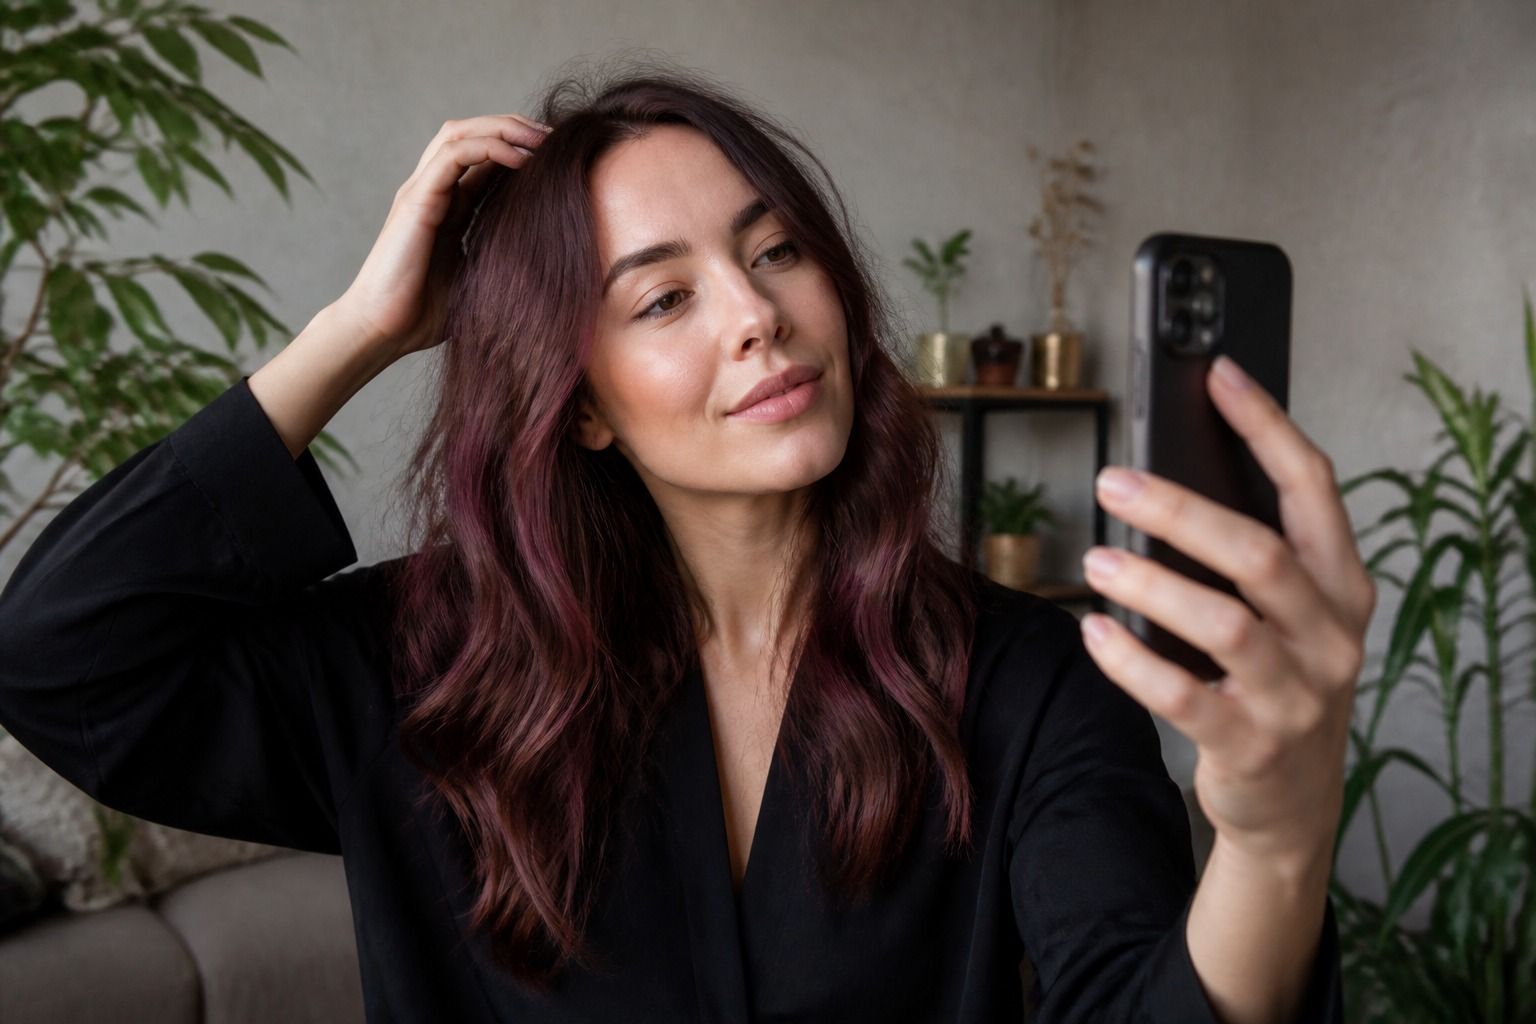
A free virtual hair colour try-on is only as useful as the photo it has to read. A tilted selfie, warm ceiling light and loose hair across the face can make a shade preview look more certain than it is. A few minutes of preparation will not turn a digital image into a salon consultation, but it can make comparisons fairer. The goal is a clean before photo, a believable hair mask and enough repeated checks to tell the difference between a colour preference and a camera effect.
Take the kind of photo the tool can actually read
Start with a simple front-facing photo at the camera angle you use most often. Keep the lens close to eye level rather than pointing up from below or down from above. A high angle changes the visible hairline and shortens the face-framing area; a low angle can make the top of the head and roots look heavier. Stand far enough away that the phone does not distort the forehead or the sides of the hair.
Use daylight if possible, but avoid direct sun on one side of the face. A bright window in front of you is usually easier to read than a window behind you, which can leave the face and hair in shadow. If the light comes from the side, turn slightly so one cheek is not much brighter than the other. The aim is an even record of the current hair, not a highly polished portrait.
Keep the camera angle, distance and expression steady for every shade you test. Do not compare one colour on a close-up with another on a full-length crop. The face may look different, and the amount of hair visible around the shoulders may change the impression of depth. A consistent setup is more important than a perfect photograph.
Before saving the image, check the parts people often crop away: crown, parting, temples, sideburns and the top of the shoulders. A colour that looks flattering only in a narrow crop may not suit the actual shape of your haircut. If you wear bangs or a short fringe, leave them in their normal position for one photo, then make a second version with the forehead more visible if the tool allows it. That gives you a better sense of how much of the colour is affecting the face.
Make a second photo for hair that is normally worn curly, coily or waved. The first image can show the natural pattern, while a second can show the same hair gently stretched or brushed out. The result will not predict every styling option, but it stops you from treating a single texture state as the whole story. For fine hair, keep the natural density visible rather than lifting every strand away from the head.
Prepare hair and background
Choose an unstyled version of the hair when the purpose is colour comparison. Heavy waves, a high ponytail or a large amount of dry shampoo can hide the lengths and change where the shade appears. You do not need freshly washed hair or a salon finish. Clean, dry hair in the way you normally wear it is enough, provided the colour is not obscured by a hat, scarf or elaborate updo.
Separate the hair from the background as much as you can. A plain wall in a soft neutral colour makes a more useful outline than a patterned room, dark shelves or bright plants behind the head. The background does not need to be white. It simply needs to stop competing with the hair. A pale grey wall and a black top can be easier to read than a white top against a pale wall.
Remove strong colour casts from the room. Green walls, orange lamps and coloured LED lights can reflect onto the hair and skin before any virtual shade is added. Turn off coloured bulbs and avoid a mirror selfie if the mirror has a tinted edge or decorative lights. If the only available room is warm, take a second photo near a window and compare the two rather than trusting the warmer image alone.
Keep the before photo unfiltered. Skin smoothing, automatic portrait blur and beauty settings may also soften the hairline or increase shine. Those changes can make a shade preview look tidy, but they remove clues about texture and loose strands. The photo does not have to be unflattering; it needs to show the hair honestly enough for comparison.
Do not cover the current root if root colour is part of your decision. A headband can make the image look neat while hiding the exact transition you need to judge. Tuck only the strands that naturally fall across the eyes. If you have a grown-out highlight, a grey section or a darker patch near the parting, leave it visible. That is part of the starting point a stylist would need to assess.
Check the hairline and loose strands
Look closely at the mask before trusting the shade. The hair mask is the boundary the tool uses to place colour. When it follows the head neatly but ignores the fine hairs around the forehead, the preview may look denser and more even than your real hair. A dark colour can appear to fill every gap, while a light face frame can stop in a hard digital curve.
Inspect the temples first. These areas often contain fine, short strands that point in different directions. Then check the ears, nape and parting. If the colour vanishes behind the ear or leaves a strip of the old shade at the part, do not read that patch as a planned root effect. It is more likely an edge the tool has missed.
Loose strands matter when you are comparing lighter or vivid colours. One strand crossing the cheek can make a face frame appear wider. A few wisps over a dark jumper can make a pale shade seem more visible than it would be against your usual clothes. Try to keep the hair in its natural fall, then judge whether the result still works when the loose strands move away.
Face framing deserves its own check. Ask where the new colour begins relative to the eyebrows, cheekbones and jaw. A preview may place the brightest section right beside the face even if your real layers start lower. If you want highlights, note whether you are responding to the colour itself or to an exaggerated bright band that would not be possible with your current cut.
| Area to inspect | Useful question | When to be cautious |
|---|---|---|
| Forehead and temples | Does the colour follow fine hairs and the real hairline? | The border is a perfect smooth curve or leaves a pale gap |
| Parting and crown | Can you still see the current root and natural density? | The preview hides the part or creates an even cap of colour |
| Ears and nape | Would the shade continue when the hair moves? | The colour stops abruptly at the edge of the face or neck |
| Face-framing layers | Does the placement match your haircut and usual parting? | The brightest pieces appear where you have no layers |
If the tool offers a way to adjust the mask, spend time on the outline but do not chase every tiny strand. Real hair is irregular, and a perfectly edited border can still create an unrealistic result. The purpose of the check is to identify a misleading edge, not to make the photograph look digitally perfect.
Compare the same shade in more than one light
Once the photo is prepared, compare each shade in at least two lighting conditions. Start with the original daylight image, then use a normal indoor setting without changing the face position. Daylight helps you see the direction of the colour; indoor light shows whether the shade becomes too warm, too dull or too dark for the places where you spend time.
Watch for colour cast rather than searching for a single exact match. A warm room can turn a neutral brown into a golden brown. A cool window can make a red shade look more violet. A phone display can increase saturation and contrast, especially when the screen is bright. If one preview only works in one light, keep the direction but be cautious about promising a precise final shade.
Make a side-by-side comparison with the same original photo whenever possible. Put the current hair, the preferred preview and the closest alternative next to one another. Begin with the overall shape, then check depth, reflection and face framing. This order stops a vivid colour from winning simply because it is more noticeable in a small thumbnail.
Look at the roots and ends separately. The digital result often makes them uniform, while real hair can show a darker root, faded mid-lengths and more porous ends. Ask whether you like the preview because it has a clean all-over surface or because the colour family suits you. A salon may reproduce the family with a root shadow, gloss or partial lightening rather than the exact solid image.
Use the same screen brightness for every comparison. If one image is viewed with a bright display and another with night mode, the difference is not reliable. Save the preferred versions, close them for a few minutes and look again. A choice that still feels right after the first excitement has passed is a stronger reference for the next step.
Turn the preview into a realistic next step
Finish the checklist by writing down what the preview actually helped you decide. Perhaps you want a cooler brown, a deeper root, softer face framing or a clearer red reflection. Phrase the choice in visible terms rather than relying on a label that may mean different things to different people. You can describe how dark the hair looks beside your brows, whether the warmth is welcome and where you want the lightest pieces to sit.
Keep one before photo and two or three shade previews. A useful set includes the direction you prefer, a version that is slightly softer and an option you have ruled out. The rejected image helps explain the boundary: too orange, too black, too pale at the face or too high-maintenance. A large folder of similar screenshots makes the salon conversation harder, not more thorough.
Add the details a shade preview cannot know. Note your natural root, previous colour, highlights, grey strands, hair texture, usual parting and how often you style it. Mention whether the hair is fragile at the ends or has a long history of colour changes. You do not need to diagnose the hair yourself. You do need to give an honest starting point so the stylist can judge what can be achieved and in what order.
Ask for a plan that includes the first result and the grow-out. A dark shade may be easy to see in the preview but show a clear root sooner. A lighter or warmer direction may require more work on previously coloured lengths. Highlights that look delicate on screen may need maintenance that does not fit your schedule. The best next step may be a smaller tonal change, a test section or a staged appointment rather than the full visual jump.
A free virtual hair color try on earns its place when it helps you arrive with a clear question. Use it to compare, notice your preferences and identify the parts of the image that are too neat to trust. Then let real hair, real light, real texture and an honest maintenance plan set the limits. The preview can sharpen the conversation; it should not make the decision for you.