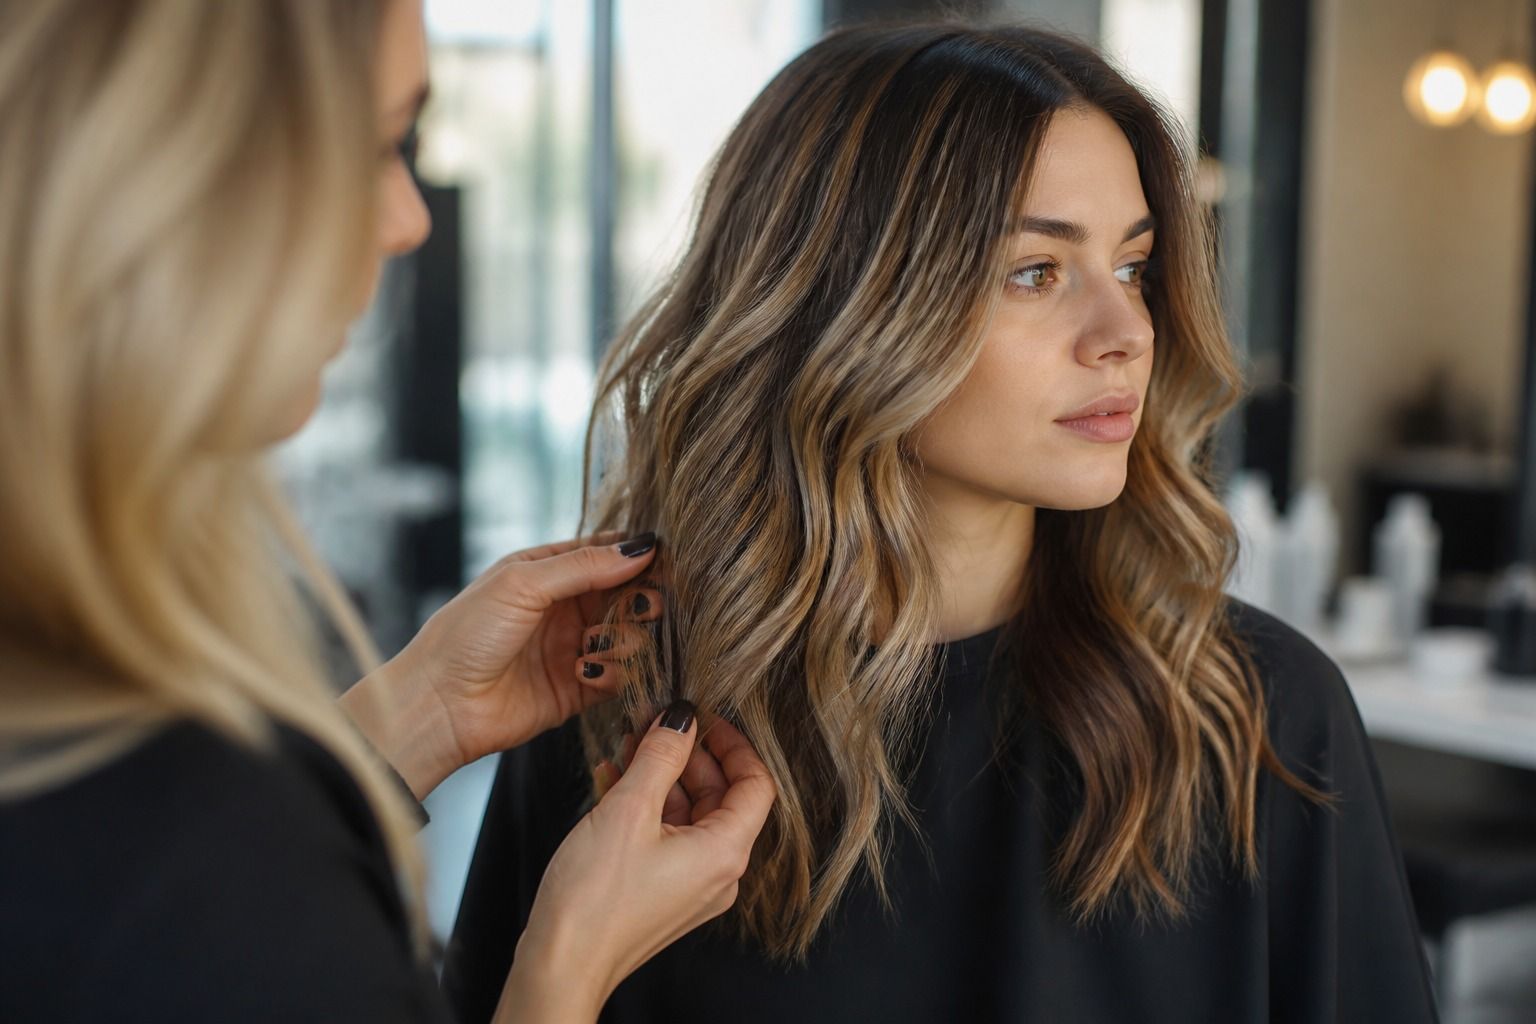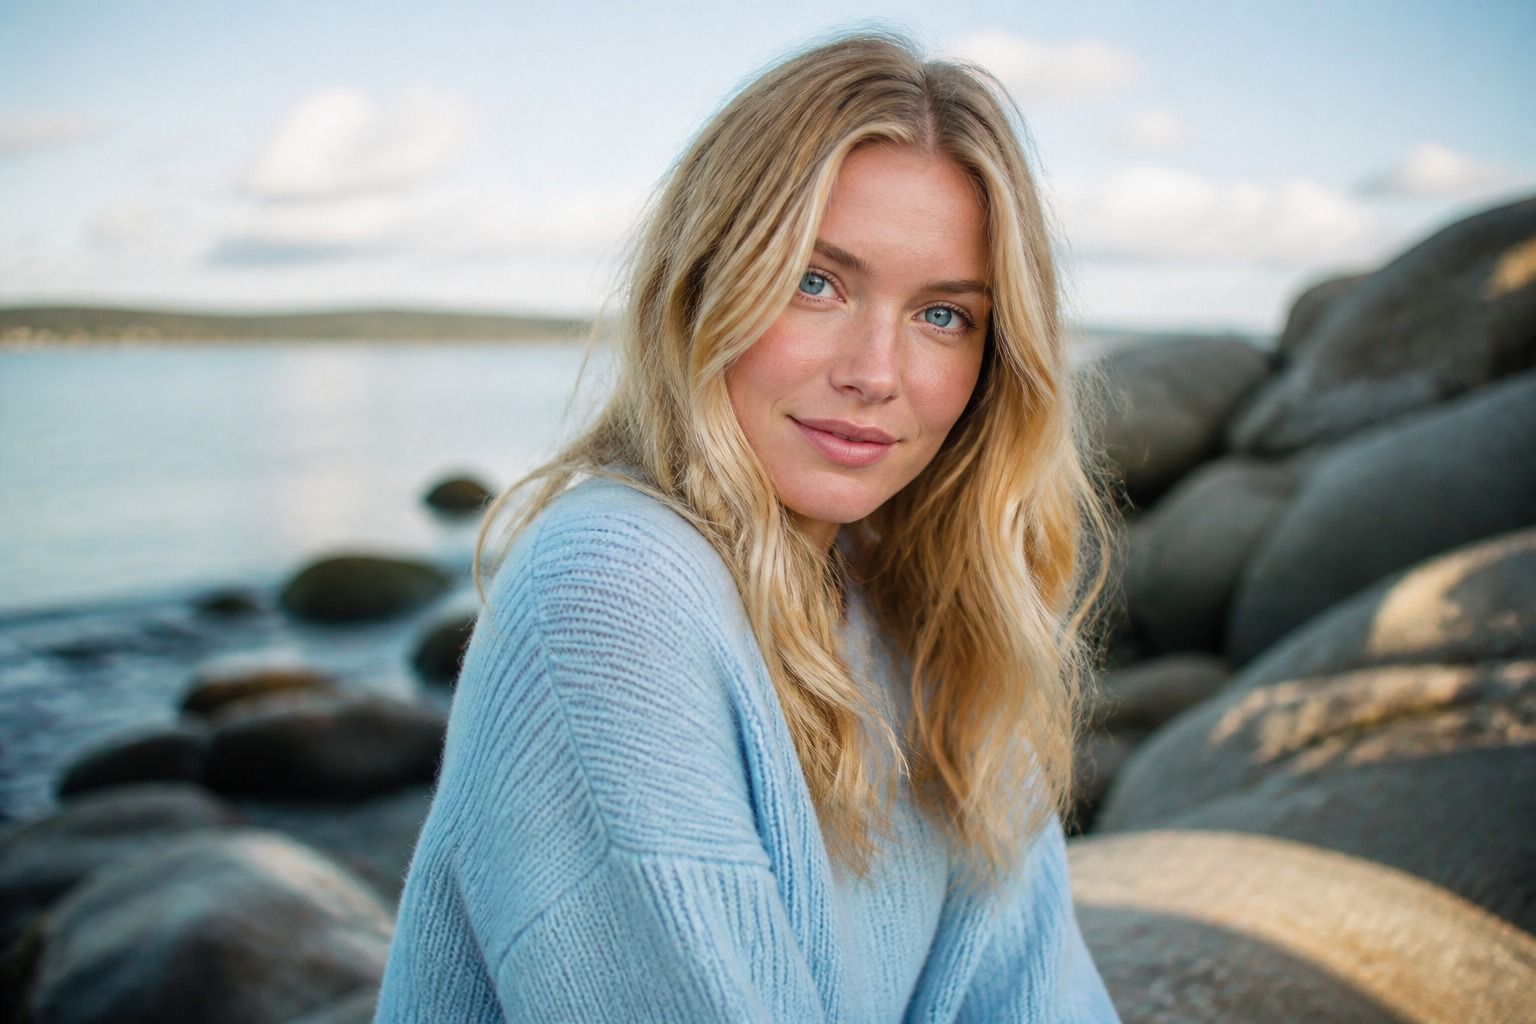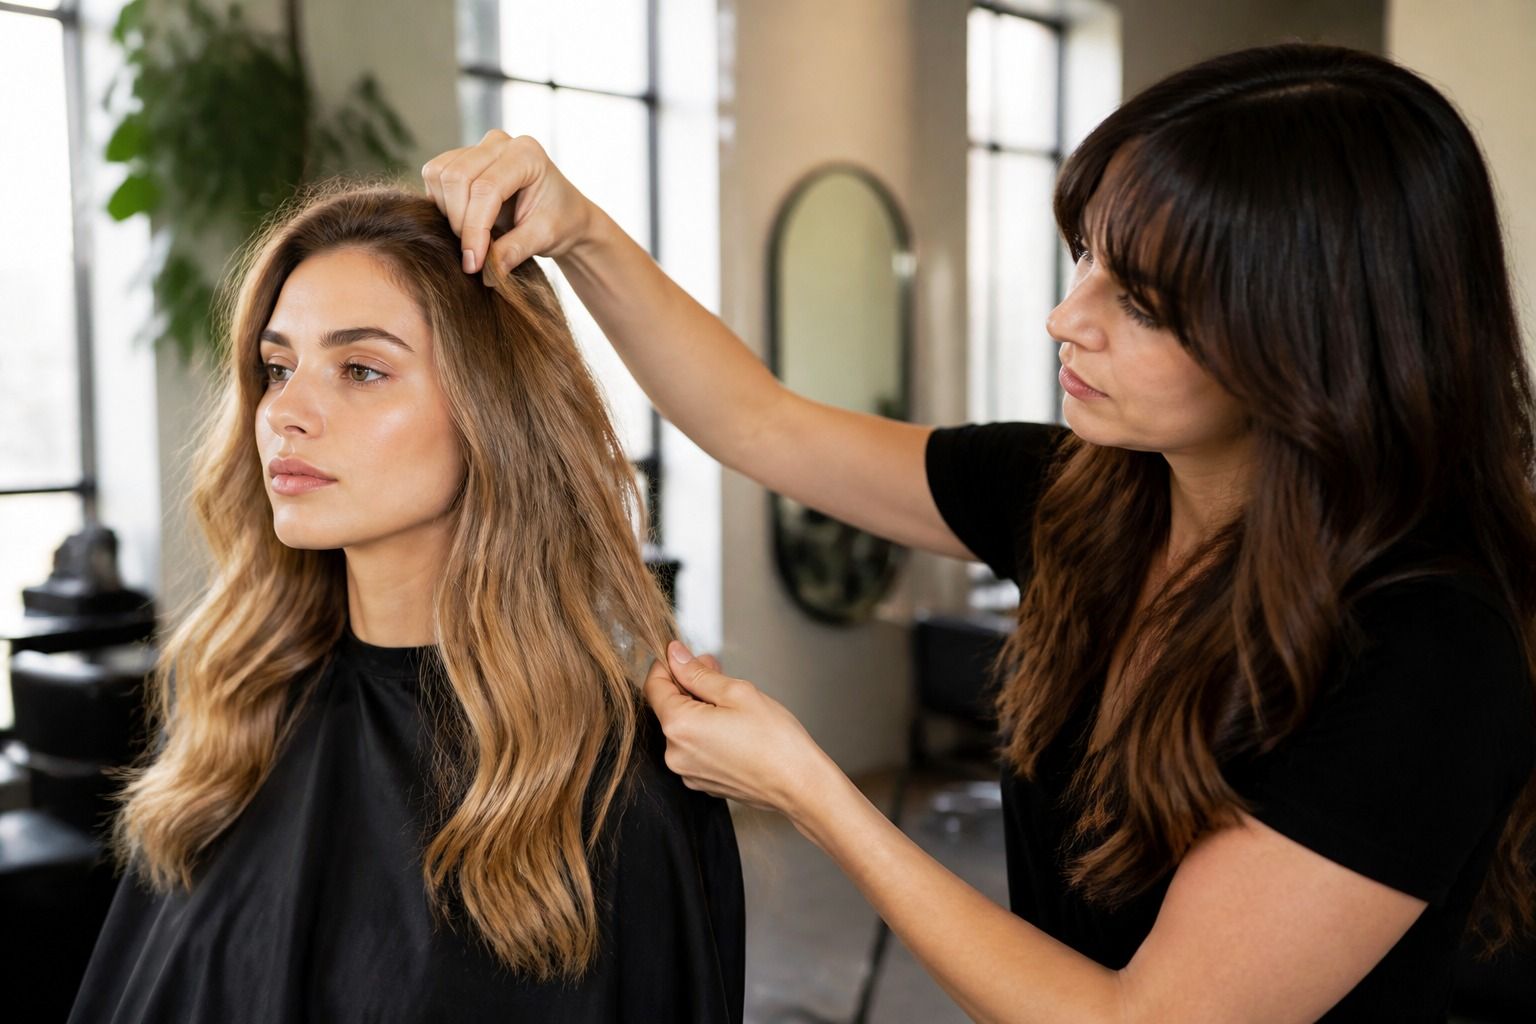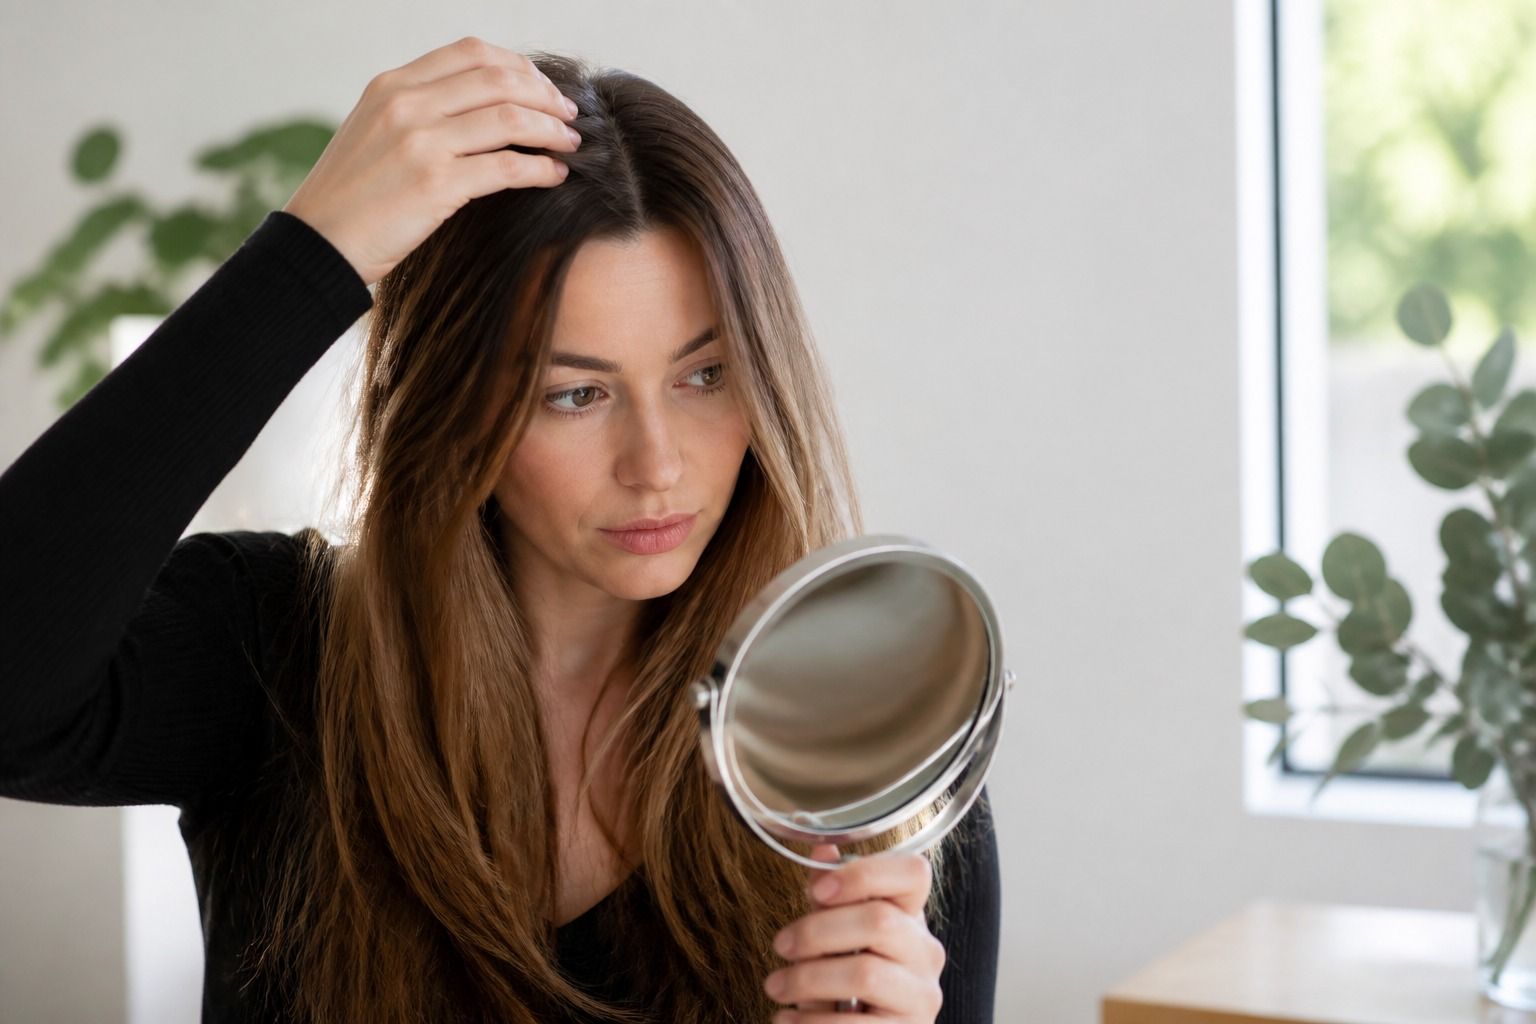
A salon consultation goes better when you can describe your current colour without relying on a filtered selfie or a shade name copied from a box. A short hair colour analysis at home will not predict the final formula. It can show the stylist where your natural root begins, how the lengths have changed, which light makes the hair look warm or cool, and how much maintenance you are willing to take on. Natural light is the best place to make that first check.
What to check before taking a photo
Choose a day when your hair is dry and reasonably clean, with no heavy styling product covering the surface. Hair does not need to be freshly washed to be useful in a photo, but a layer of oil, dry shampoo, or strong shine product can change the way light bounces off it. Brush or arrange it as you usually wear it, then take a second view with the parting moved slightly so the regrowth is visible.
Stand beside a window or outside in open shade. Direct midday sun can bleach the look of the image and make warm pieces appear brighter than they do indoors. A yellow lamp in the room can make a neutral brown look honey-toned. Use the same place for every comparison, and keep your face and hair away from coloured walls or bright clothing that might tint the phone's automatic balance.
Take one photo with the hair down and another with the front pieces tucked back. The first shows the overall impression. The second reveals the roots, hairline, temples, and any band where older colour meets new growth. If you have a fringe or face-framing layers, include them in the view. They may be the first area a new colour changes the way your face looks.
Make a note of what happened before the photo. Include the last colour appointment, any lightening, a gloss or toner, the parts that have grown out, and whether the ends have been trimmed since then. You do not need to know the professional product names. A plain timeline such as darkened in winter, added highlights in spring, then allowed the roots to grow is more useful than a confident guess about a shade code.
Grey at the temples and parting deserves its own observation. It may be scattered, concentrated at the front, or more visible because the rest of the hair is darker. That pattern affects how a stylist talks about grey blending and grow-out. It is easy to miss when the hair is styled over the roots for a photo.
How to read your current colour without overtrusting the camera
Look at three areas separately: the root, the middle length, and the ends. The root is the clearest clue to your natural hair depth. The middle length shows the colour most people see when the hair moves. The ends may be lighter from sun, older highlights, repeated washing, or previous colour. If those areas do not match, describe them as three parts instead of calling the whole head one shade.
Phone cameras are helpful for recording differences, but they are poor judges of exact colour. They brighten faces, smooth texture, and correct the white balance without asking. A phone may turn a soft beige reflection into a cooler beige, or deepen a brunette when the background is bright. Screen brightness changes the impression again. Use the phone to compare photos taken in the same conditions, not to declare a precise colour level.
Try a simple comparison. Take one photo in open shade, one near a window, and one in the room where you normally get ready. If the hair looks warm in every image, that direction is worth discussing. If it swings from ash to gold depending on the lamp, the reflection may be subtle, or the camera may be compensating heavily. Your stylist can assess the hair in person; your photos only need to show the pattern.
Texture changes the read as well. Straight hair reflects a bright stripe and makes a root line easy to see. Waves break up that stripe and may make a warm tone appear softer. Curls show colour in separate ribbons, so the same base can look lighter on the surface and deeper inside the shape. Take the photo in the texture you actually wear. A smooth blow-dry can hide the maintenance issue you will notice on a normal morning.
Do not judge the result from one small piece at the front. A face frame may have more sun exposure than the underneath hair. The nape can remain close to the natural root while the top layer fades. If you are considering colour correction, that difference matters. A stylist needs to know which areas are darker, lighter, warmer, or more porous, rather than seeing one flattering section and assuming the rest behaves the same way.
Which details a stylist needs to know
Bring a short colour history to the appointment. Write down what was done, roughly when it happened, and whether the colour was applied to the roots, the lengths, or both. Mention older highlights even if they have been covered since. A hidden lightened section can respond differently from untouched hair when a new colour is added or lifted.
Tell the stylist how you normally wash and wear your hair. The frequency matters because some tonal changes are more noticeable as they soften. Heat styling, air drying, frequent swimming, and long periods in strong sun can all change how you experience a colour, even if the first appointment looks good. This is not a reason to make a dramatic prediction. It is a reason to choose a finish you can recognise as it settles.
Grey blending needs an honest description of the regrowth. Say whether the visible grey bothers you immediately, whether you like the softer look between appointments, or whether you want the front to stay more solid. A plan for scattered grey can be different from a plan for a concentrated white parting. The right conversation includes the return visits, not only the first photograph.
Describe the maintenance you can manage in ordinary weeks. If you travel for work, wear your hair up, or cannot book frequent appointments, say so. Root grow-out may be easier to live with when the transition is soft, while a high-contrast change can make a small amount of regrowth feel obvious. A gloss or a few highlights may give enough movement without creating a line you will watch every morning.
Ask about patch-test timing if the salon recommends a colour service or product that requires one. The salon can tell you how far in advance it should happen and what their procedure is. Write that timing beside the appointment date so it does not become an afterthought. Keep the question practical and follow the salon's instructions rather than copying a timetable from someone else's hair.
How to compare a reference shade with your own starting point
Choose reference photos for their colour behaviour, not their glamour. Look for visible roots, the side of the hair, and the ends. A picture taken in daylight is easier to discuss than a heavily edited image with a smooth filter over the whole face. Save one image that shows the overall depth and another that shows the kind of highlight, gloss, or blended transition you like.
Compare the reference person's starting shade with yours. A warm medium brown does not become the same beige blonde as a pale natural blonde through the same route. A dark artificial colour may sit differently from an untouched dark brown. Existing highlights can make a target look closer in one area and farther away in another. The reference can still be useful, but it should describe the direction and placement rather than act as a promise.
Check the contrast around the face. If the reference has very dark brows and a light, clear frame, a soft beige result on you may look quieter than expected. If your brows, eyes, and natural roots sit close together, the same face-framing highlight may create a larger change. Look at the hair next to the face, not only at the lengths in the back.
Think about texture and haircut before you compare. Broad ribbons on straight hair can look like a solid block when moved into a fine, curly shape. A blunt bob shows a root transition more clearly than long layers. A short crop may need colour placed around the crown and hairline because there is less length to soften the change. Reference photos work best when they share at least the general length and movement of your own hair.
Ask whether the direction can begin with a smaller service. A gloss may adjust warmth or coolness without changing the full depth. Fine highlights may add brightness while leaving the natural root in place. A face frame can show whether you like more contrast before the stylist changes the rest. These options give the consultation a useful middle ground between keeping everything the same and asking for a complete colour change.
What to write down before booking
Make one page with five short notes. First, record your starting point: natural root depth, current length, grey pattern, and the main difference between roots and ends. Second, describe the direction you want, such as cooler brown, warmer beige, brighter around the face, or deeper through the length. Third, note the contrast you can live with. You might want the hair to frame the face more clearly, or you might prefer a blended result that does not announce the regrowth.
Fourth, write your maintenance limit in plain language. Say how often you can return, whether a visible root line bothers you, and whether you are happy to refresh a gloss between larger appointments. Fifth, list the questions that need an in-person answer: how the starting shade affects the route, which parts may need a different approach, how the reference translates to your texture, and what the patch-test timing is if it applies.
Keep the photos in the same folder as the notes. Include an unfiltered daylight view, a view of the roots, and the references you want to discuss. Avoid sending ten almost identical screenshots. Three clear examples make it easier to explain what you like. If one image has a colour you love but a haircut you would never wear, say that directly. It prevents the stylist from treating the entire image as the target.
There are limits to any pre-salon hair colour analysis. A photo cannot show how the hair feels, how evenly the lengths respond, or how a tone will sit after the first wash. It cannot account perfectly for previous colour, porosity, curls, grey, or a hidden band of old highlights. The point of the check is to arrive with better observations, not to replace the consultation.
Bring the daylight check, the colour history, and a realistic maintenance preference. That combination gives the stylist a starting shade to assess and a result to aim toward. The final plan may be a little different from the reference photo, especially around the roots and face frame. A useful appointment leaves you with a colour you understand how to wear and maintain, not only a picture that looked convincing for five minutes.