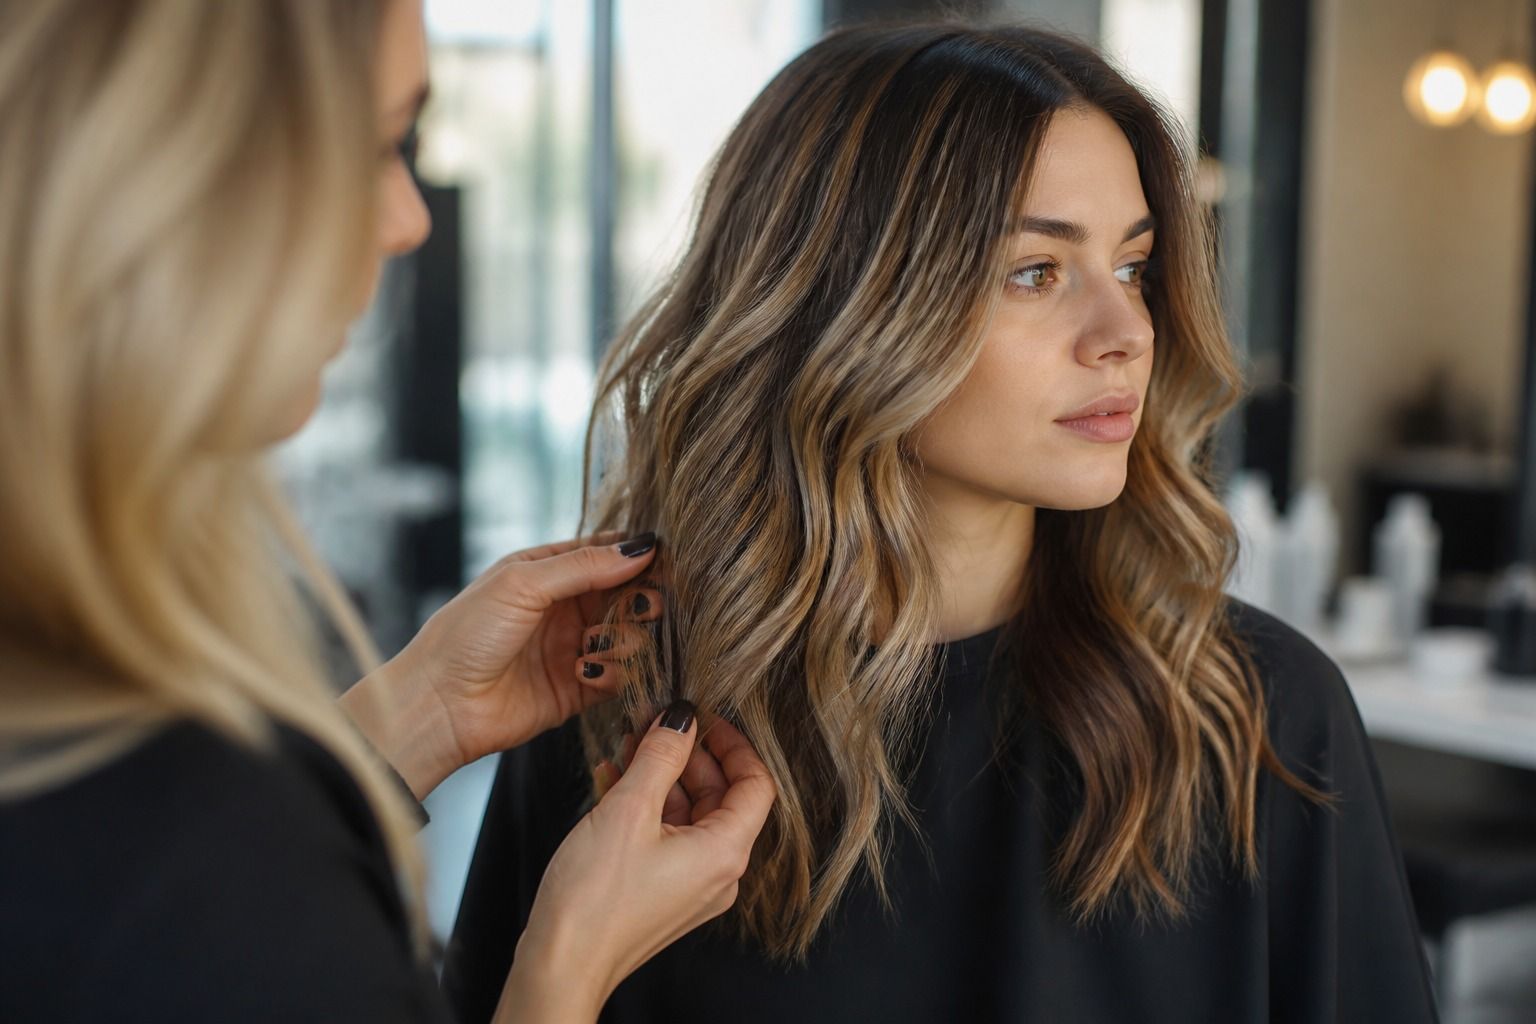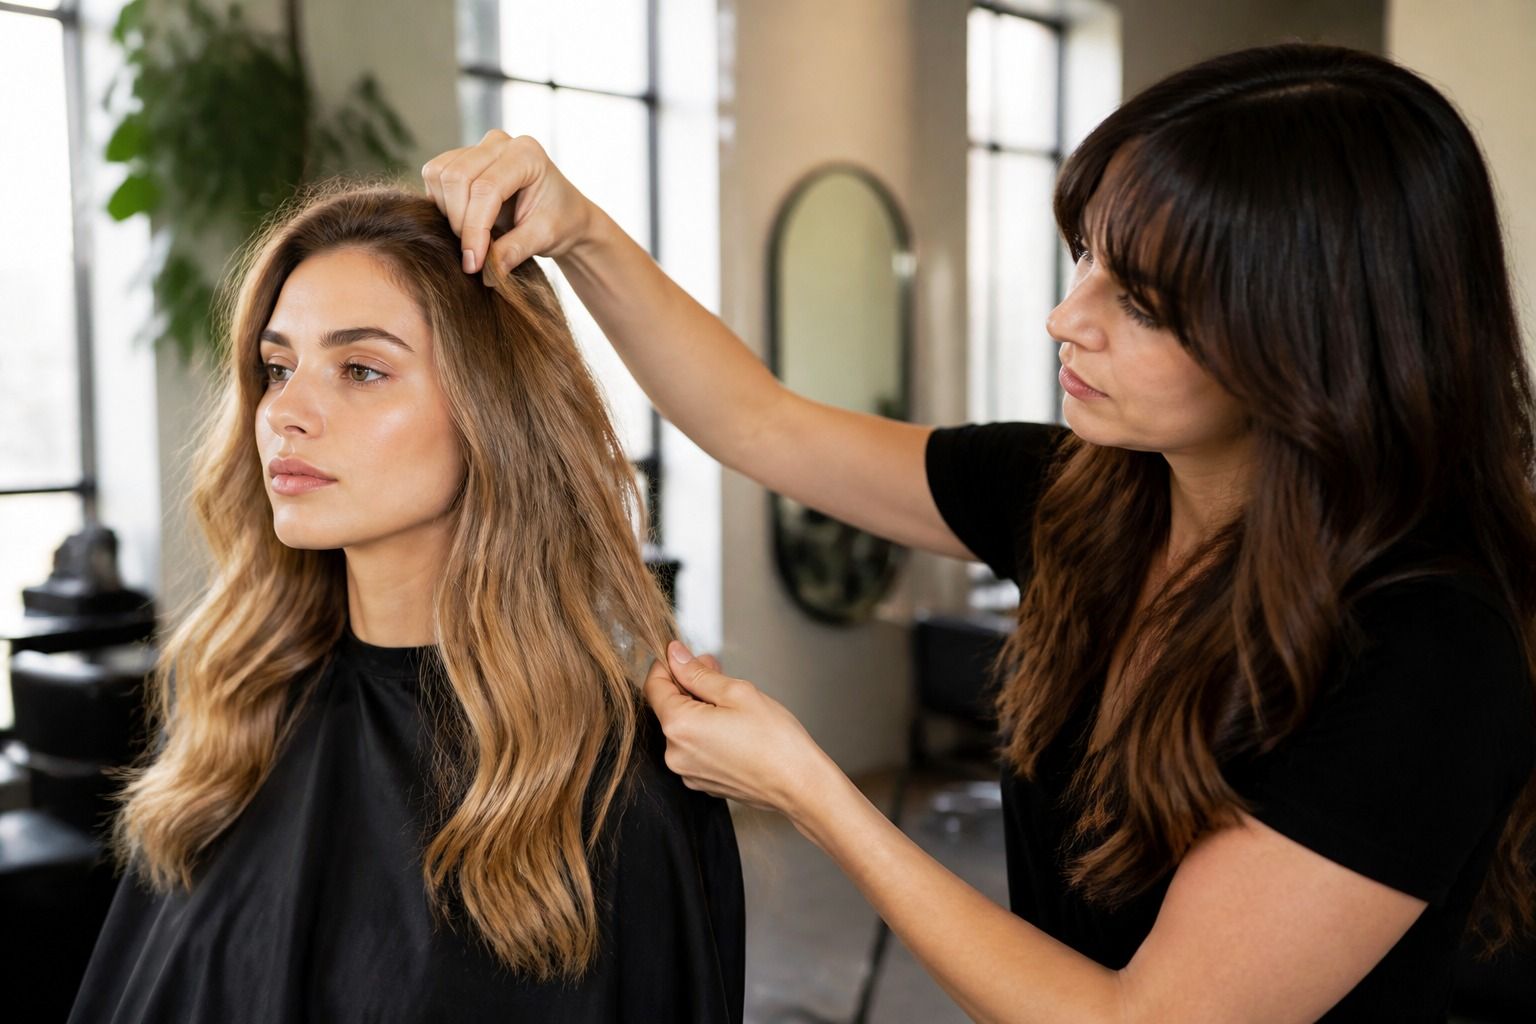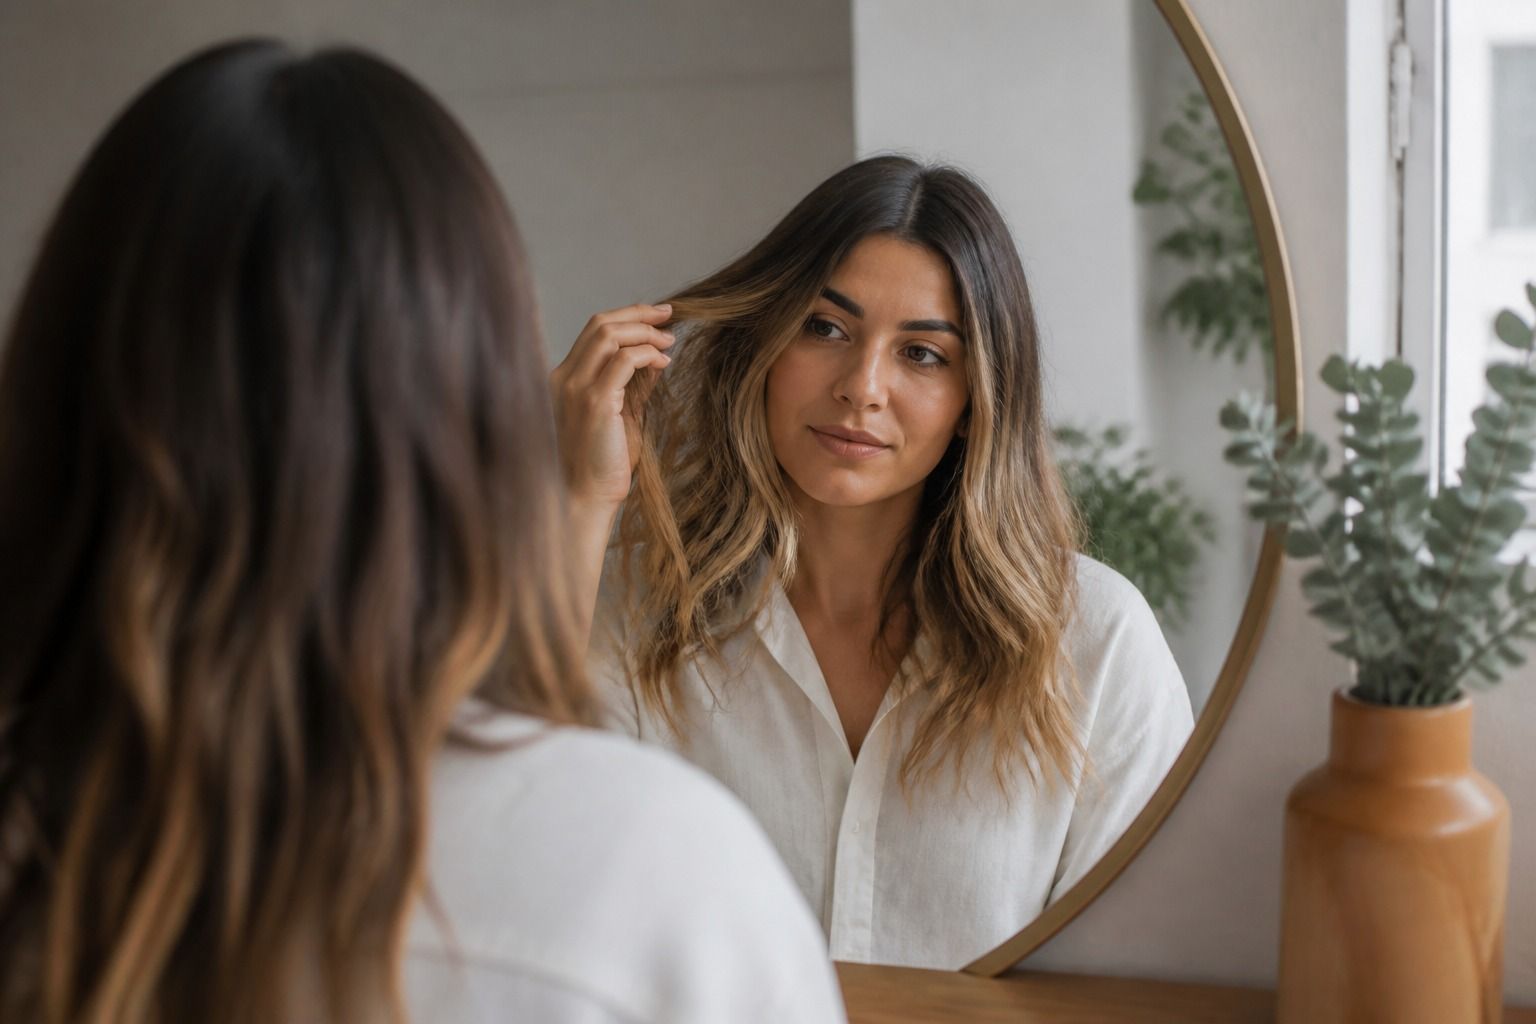
A hair color simulator can answer a useful visual question: do I like this general direction on my face? It cannot reproduce every step that turns a digital shade into coloured hair. The screen starts with a flat reading of your photo, while real hair has a starting pigment, previous colour, uneven porosity and a texture that catches light differently. Use the preview to narrow the conversation. Keep the physical result open until a stylist has seen what you are starting with.
What a simulator is really modelling
Most digital previews work by finding the hair area in a photo and changing the colour inside that shape. The result is a screen rendering of tone, depth and sometimes shine. It is useful because your face stays in view while you compare a cool brunette, a lighter blonde or a red direction. You can notice whether the change feels too heavy, too pale or close to the contrast you already have.
The preview usually treats the hair as a surface. Real colour work has layers of history. Natural pigment, old dye, faded lengths and new growth can all sit on the same head. A simulator may show one even shade where a stylist would see several starting points. That difference does not make the image pointless. It tells you that the picture answers a visual question, not a complete salon question.
Screen rendering adds another variable. The display may brighten a pale colour, deepen a brunette or smooth out variation in the lengths. A warm lamp in the room can push a neutral shade towards gold, while a cool phone setting can make it look grey. Compare previews on the same screen and in more than one type of light. Otherwise you may be comparing the room around the image as much as the hair itself.
Keep the first question small. If you are unsure between light brown and dark blonde, a simulator can help with depth. If you are planning a multi-step correction from dark permanent dye to a very light blonde, the image can show the mood of the change, but it should not be treated as a timetable or a colour formula.
Why the starting shade changes everything
Your starting shade is the part of a hair color simulator that deserves the most attention. A preview often begins from the photograph you upload, but it does not always understand whether the hair is natural, tinted, highlighted or faded. Tell yourself what is really on the head: natural medium brown at the roots, old warm colour through the lengths, a pale face frame, or several months of regrowth. The same target name can behave very differently over those bases.
Lift and deposit are different directions. Moving lighter asks the hair to give up some of its existing depth before the new tone can be seen. Adding a deeper or more saturated tone often works by placing colour over what is already there. A simulator can make both actions look like a simple swap from one tile to another. That is where a beautiful preview becomes an unrealistic expectation.
Imagine two people choosing copper. On naturally light blonde hair, the visible result may be clear and bright. On a dark brown base, the result may read as a deeper auburn or a warm reflection rather than the orange-copper shown on screen. On hair with old dark dye, the lengths may not move in the same way as untreated roots. The digital image cannot reliably show these differences from a selfie.
Grey blending adds another starting-point issue. Silver strands can take a tone differently from pigmented hair, and the finished result may look more varied than a uniform simulator overlay. That variation may be exactly what you want, or it may be the reason you need a consultation before choosing the direction. Include the amount and placement of grey when you describe the goal.
Write down your current hair before you trust the target shade. Note the natural root, the coloured lengths, highlights, direct colour, old black or red tones and the date of the last major change. You do not need to diagnose the chemistry yourself. You do need to avoid presenting a blended screen image as though the whole head begins from one clean base.
Where bleaching and existing dye cannot be represented well
Bleaching is the clearest limit. A simulator can show what a lighter value might look like, but it cannot show how your hair will reach that value or whether the lengths and roots will arrive together. Darker hair may reveal warmth as it becomes lighter. Previous colour may leave a different pattern in the lengths. The final tone depends on the starting condition, the work chosen by the stylist and how your hair responds.
Existing dye creates a similar blind spot. A digital overlay can cover an old red, brown or black colour with the new target in one clean pass. Real hair may retain a cast underneath, especially where the old colour is stronger or more porous. If the simulator shows a clear beige blonde but your lengths contain warm pigment, the practical conversation is about how to manage that warmth, not about ordering beige from a menu.
Colour correction needs an even more cautious reading. Uneven bands, dark ends or a previous lightening service may require a plan that changes from one section to another. The useful information in the preview is the destination: perhaps you prefer a softer brunette instead of an icy blonde, or a warmer result that will not make every uneven area more obvious. The preview cannot tell you how much correction the route involves.
Keep a strand test in the conversation when a change is large or your hair has a long colour history. A small test can reveal how a particular section responds and how the tone reads after it settles. It still cannot promise that every section of a full head will match, but it gives the stylist more evidence than a simulated screenshot. If your hair has already been coloured several ways, an in-person assessment matters more than a polished target image.
| What the simulator may suggest | What still needs a real-world check |
|---|---|
| A lighter blonde looks more open around the face | Whether the current base can reach a similar depth evenly |
| A copper direction feels better than a cool brown | How much existing pigment will remain under the new tone |
| A dark shade gives the eyes stronger contrast | How the root line and future regrowth will look |
| A single shade appears smooth across the lengths | Whether old dye, highlights or porosity create bands |
How texture and porosity change the physical result
Hair texture affects the way the finished colour is seen. Straight hair can show a continuous reflection along the lengths, so a tonal shift may look clean and direct. Waves and curls break that reflection into smaller sections. The same colour can appear lighter on one bend and deeper in another, even when the pigment is consistent. A simulator tends to smooth these differences because it is recolouring pixels, not following the way light moves through a curl pattern.
Density changes the impression as well. Fine hair may show more of the background and scalp between sections, while dense hair reads as a fuller field of colour. A dark brunette can therefore feel heavier in a dense style than in a fine one. The digital preview may not know how much hair you have or how it sits when dry. Use a photo that shows your usual shape, then judge the image as a direction rather than a literal density map.
Porosity affects how colour is taken up and how quickly the surface can look uneven. Previous lightening, heat and repeated colour work can leave some areas more absorbent than others. Those sections may look deeper, duller or more saturated after colouring. A uniform digital overlay has no way to display that history. Mention porous ends, dry patches or areas that always grab tone when you speak with a stylist.
Shine can be misleading on screen. A simulator may add a smooth highlight to make the hair look glossy, but the highlight can also make a shade seem lighter and more expensive than it will in ordinary daylight. Check the unfiltered photo and look at the actual colour around the highlight. If the result only works when the screen shine is doing the work, it is not a strong reason to choose the shade.
Texture also changes maintenance. A tone that looks subtle in loose waves may become more visible when the hair is straightened, cut shorter or worn up. A face-framing piece can disappear inside curls and then stand out in a sleek style. Include your normal routine in the decision, because the hair you show in a preview is not always the hair other people see every morning.
Use the simulator as a question generator
The most useful screenshot is the one that creates a precise question. Instead of saying that you want the exact colour in the image, describe what you like about it. You may like the depth of the brunette, the cooler reflection through the ends, the softer root or the way a warmer piece keeps the face from looking flat. Those observations give a stylist something to work with even when the target cannot be reproduced in one step.
Bring the current photo as well as the preview. A before-and-after pair shows the scale of the change and makes your contrast easier to discuss. Add a note about the light and whether the photo shows natural roots. If the result looked convincing only on one side of the face, say that too. Small details help separate a genuine preference from a filter artefact.
Ask what will happen at the root, through the mid-lengths and at the ends. Ask whether the target is a change in depth, warmth or both. If you are considering blonde, ask what part of the reference is the brightness and what part is the tone. If you are considering brunette, ask whether the result should stay clear and neutral or carry a warmer reflection. These questions are safer and more useful than asking for a product name based on a screen tile.
A strand test can be part of that conversation, especially when previous colour or uneven porosity is involved. It gives a physical reference for how your own hair responds. Keep its limits in mind, because one section cannot represent every area. The goal is better evidence, not a new promise.
Finally, decide how much uncertainty you can live with. A small shift in tone over your natural base may be easy to adjust later. A major lightening service or colour correction needs more planning, time and honest discussion of the starting shade. The simulator has done its job when it helps you choose between realistic directions and walk into the salon with fewer vague expectations.
A hair color simulator is excellent at showing the shape of a decision on your face. It is weak at predicting the route from your current hair to that decision. Read the starting shade, existing dye, texture and porosity before you fall for the cleanest image. Save the preview, turn it into specific questions and let the physical hair, not the screen, set the final expectations.